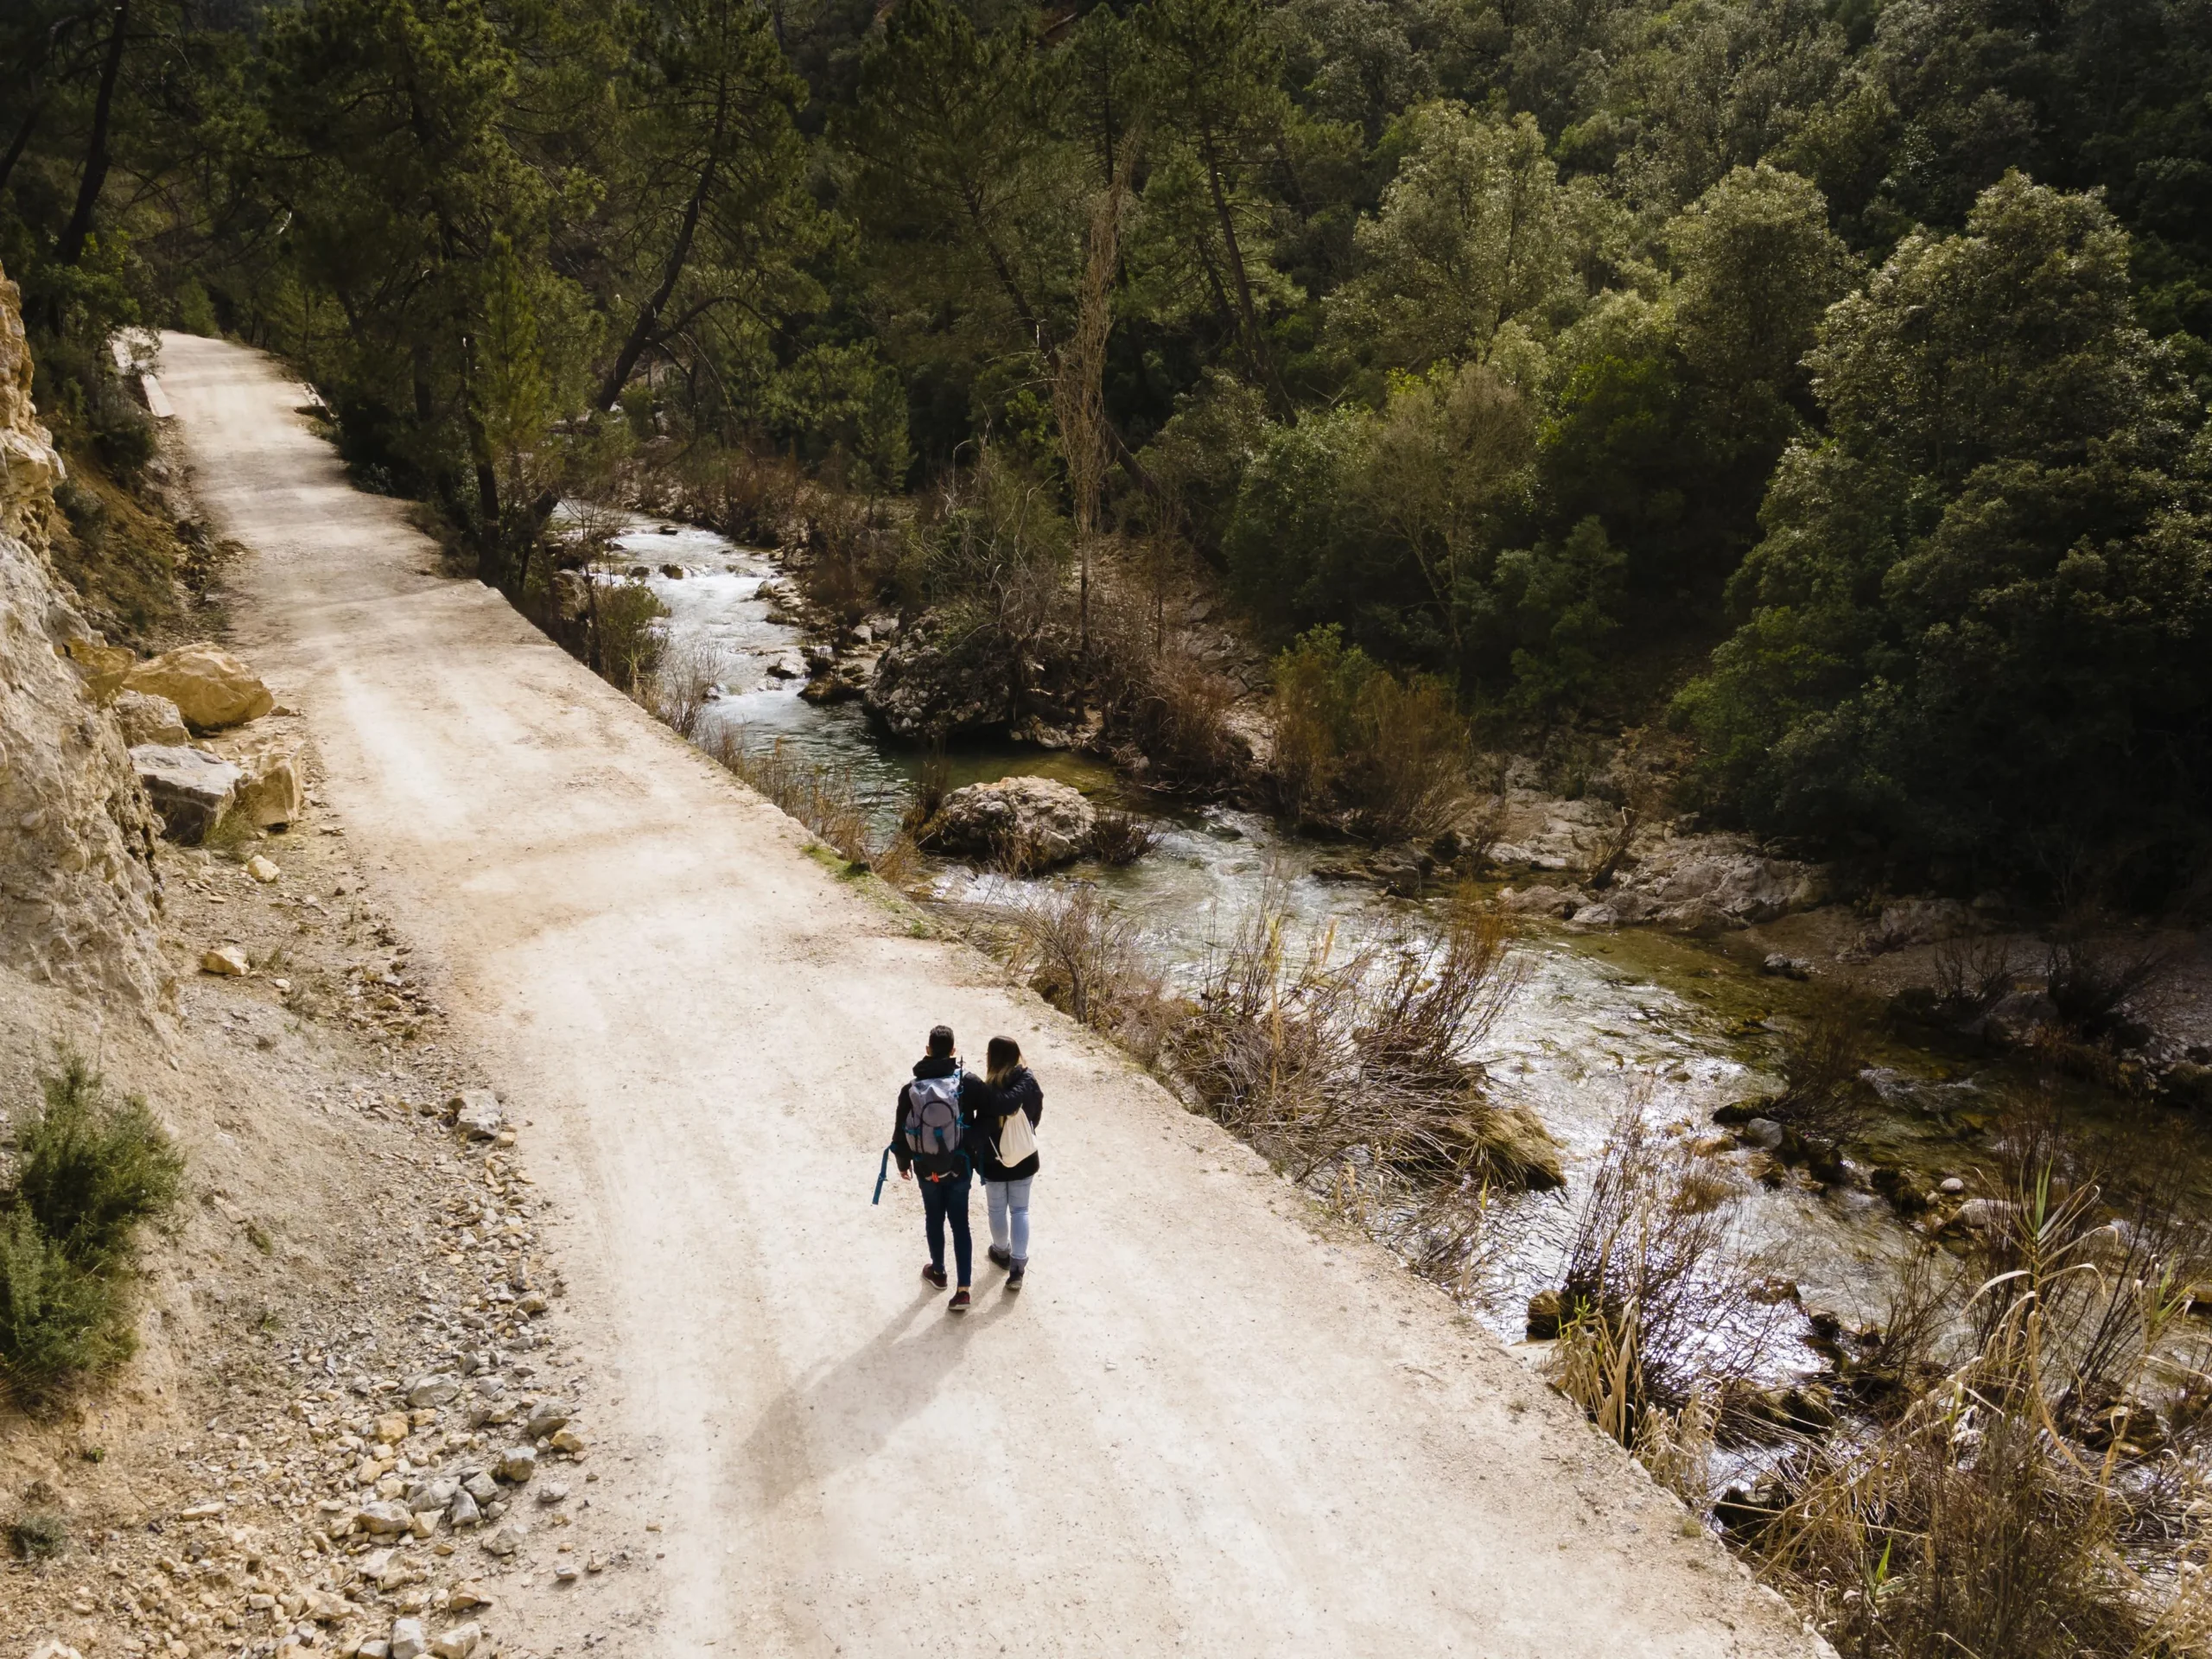
Let’s be honest: you can have the perfect backpack, the best camera, and an unbreakable spirit, but if your feet fail, the Camino turns into hell. The difference between reaching Santiago with a smile or dragging yourself like a zombie lies in those two little body parts that carry you for mile after mile.
The good news is that foot care isn’t rocket science. With a few basic tricks and some common sense, you can avoid 90% of the problems that ruin most pilgrims’ journeys. So let’s get straight to the point.
Before Starting the Camino: Train Those Feet
Don’t be that person who puts on brand-new boots on day one and expects a miracle. Your feet need preparation, just like any athlete before a competition.
Start walking at least two months in advance. No excuses. Begin with one-hour walks and gradually build up to four- or five-hour hikes. Use the same shoes and socks you’ll wear on the Camino. If you get blisters during training, perfect—you still have time to fix the problem. If they appear on the first day of your pilgrimage… well, may God have mercy on your soul.
And please, stretch. Calves, ankles, soles of the feet. Five minutes every morning can save you from tendonitis that could put you out of action.
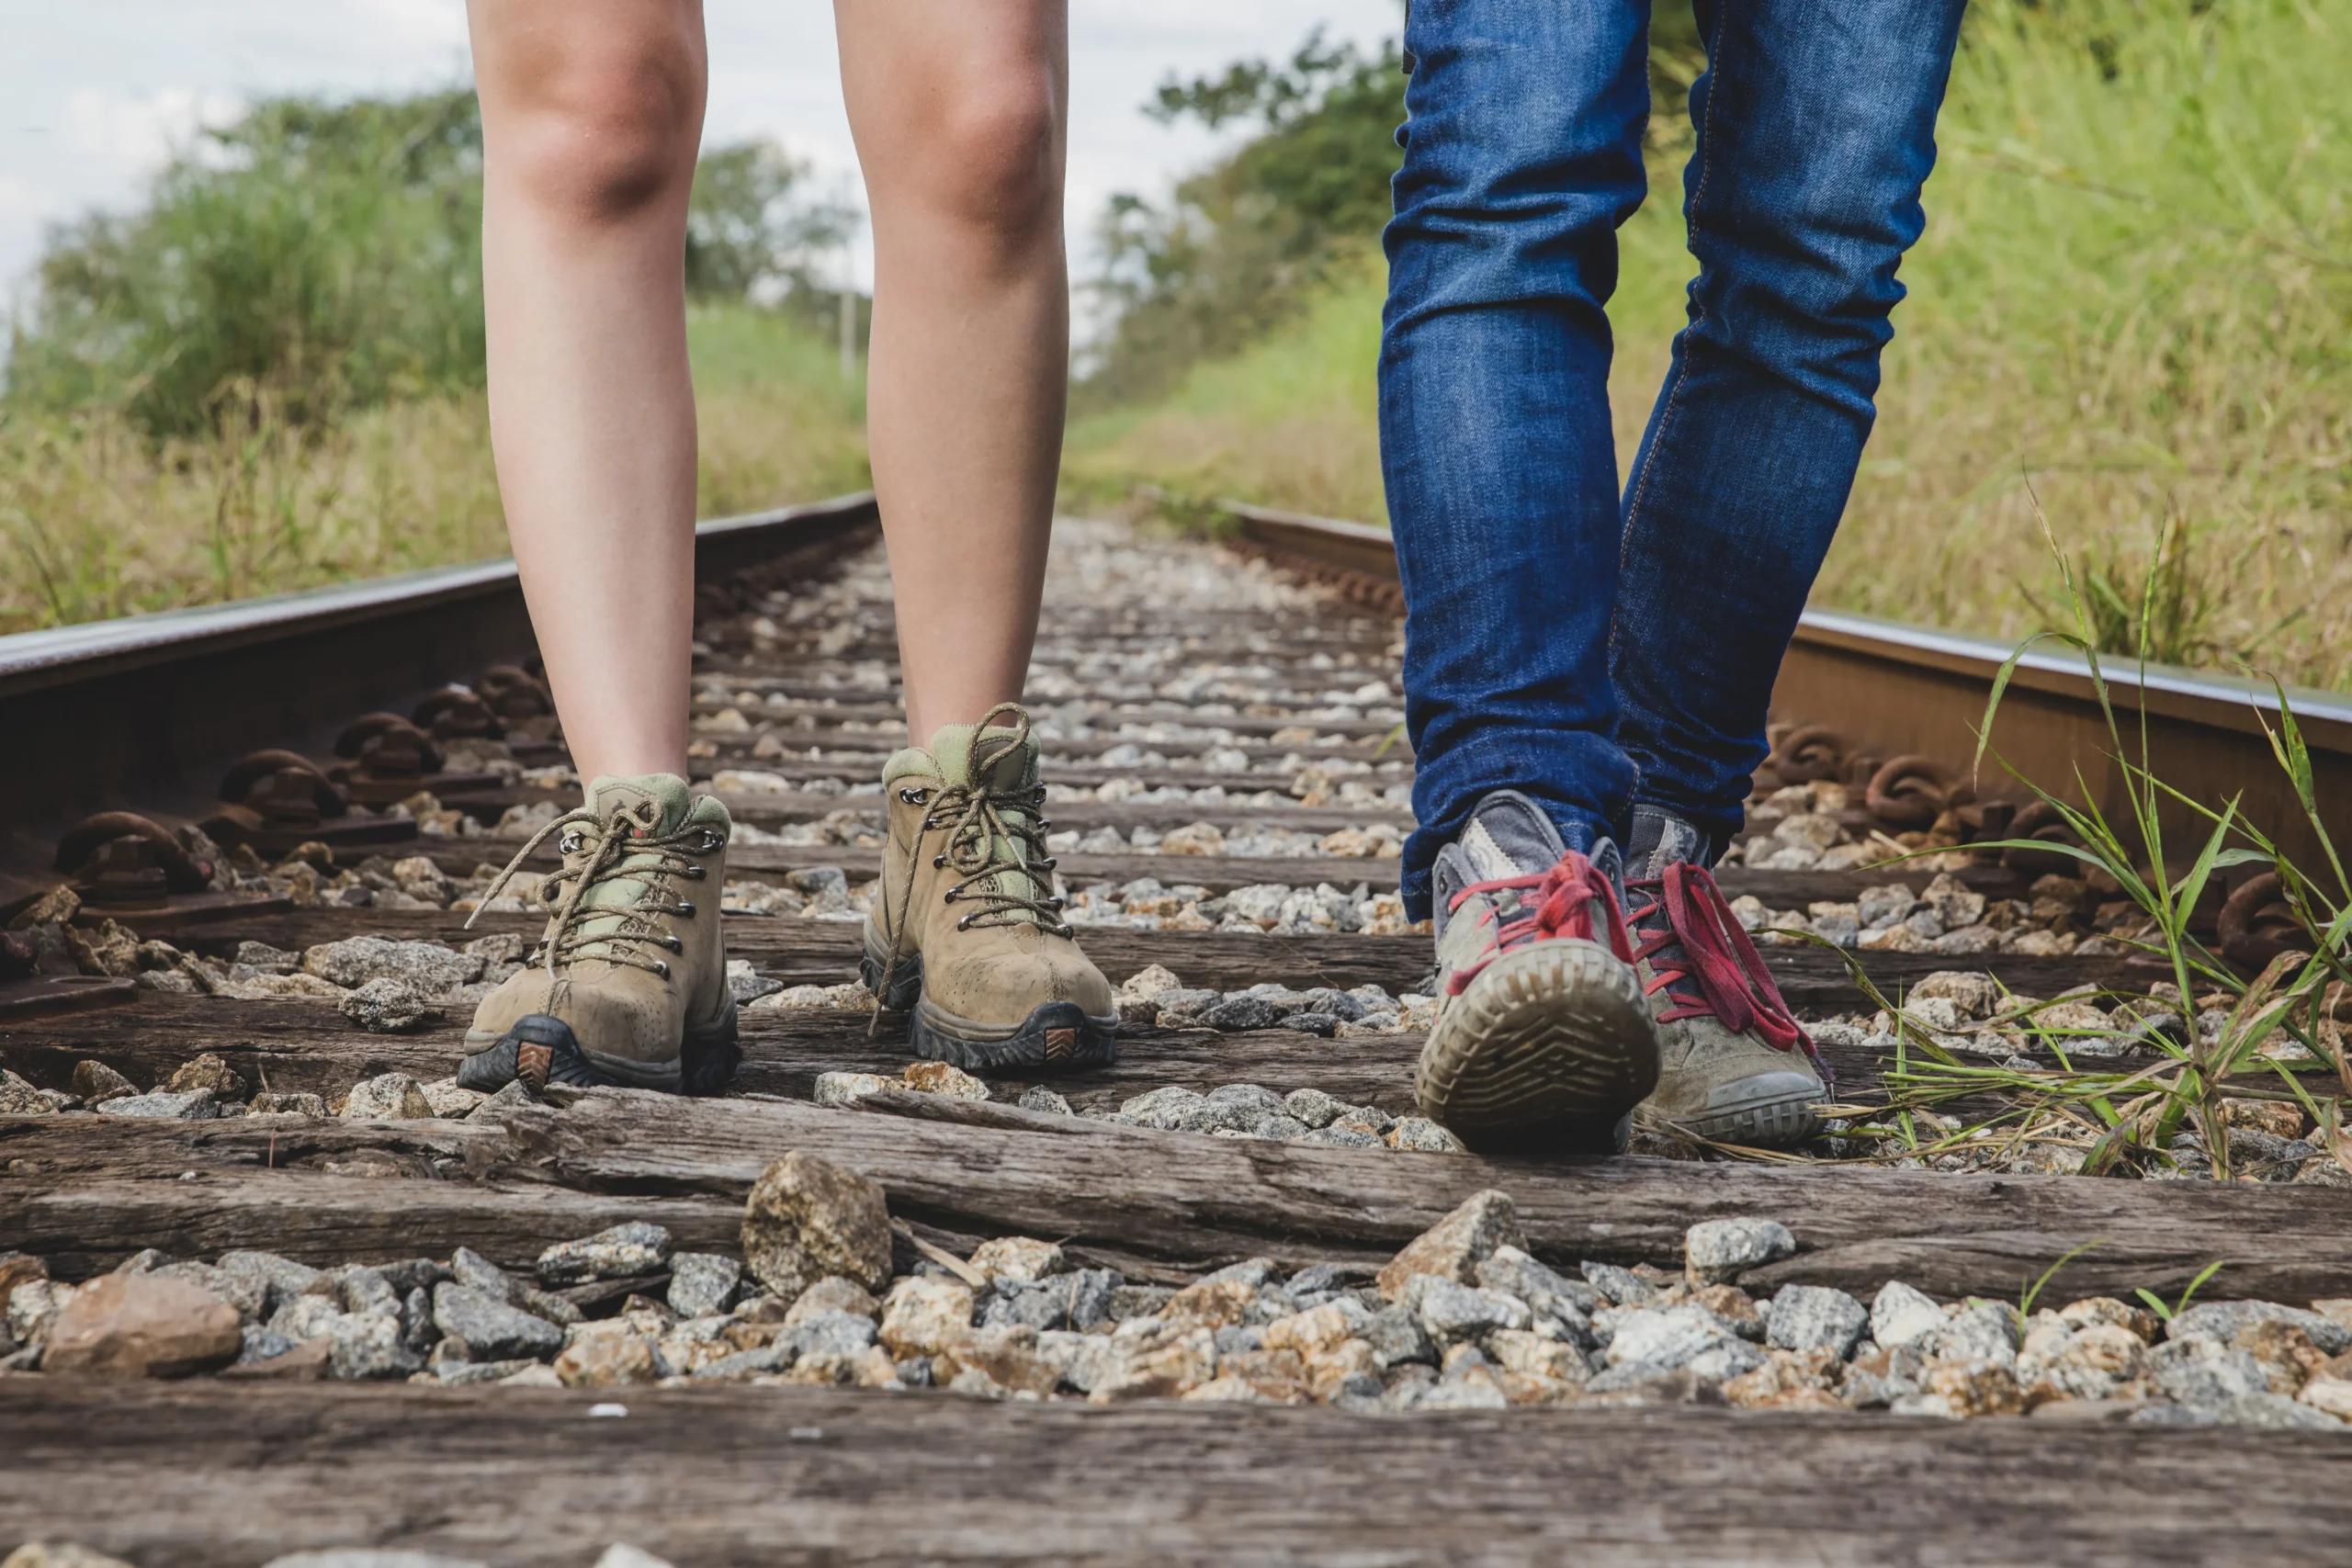
Footwear: Where Everything Begins (or Ends)
Boots for cold weather, shoes for warm weather
If you’re walking in winter or expect rain, mid-cut boots are non-negotiable. They protect you from water and mud, support your ankles, and basically act as your personal armor. Yes, they’re heavier, but you’ll be grateful when you’re crossing a muddy trail in November.
In spring and summer, trekking shoes are your best friend. Lighter, cooler, and perfect for hot days. Just make sure they’re real trekking shoes, not gym sneakers. You need a solid sole, preferably Vibram-type, that grips well on any surface.
The golden rule: NEVER wear new footwear
This needs to be bold, underlined, and flashing in neon lights: NEVER break in new boots on the Camino. It’s the fastest way to guarantee blisters the size of coins. Your boots need to mold to your feet, and your feet need to get used to the boots. That process takes weeks.
Wear them daily, during training, even to buy bread if necessary. By the time you start the Camino, your boots should feel like an extension of your body.
Socks: More Important Than You Think
Here’s the surprise for many people: socks can mess you up more than bad boots. They’re the only layer directly against your skin, so choosing the wrong ones means suffering.
Forget traditional cotton socks. You need technical socks made of CoolMax, merino wool, or polyester. These materials wick sweat instead of trapping it. Dry feet = less friction = fewer blisters. Basic math.
Look for seamless models or flat seams. And always carry two or three spare pairs in your backpack. If they get damp, change them. It’s that simple.
Vaseline on your feet before every stage
Every morning, before putting on your socks, generously apply petroleum jelly to your feet. And when I say generously, I mean it. Don’t be shy. Cover your heels, sides, between your toes, and the soles. Vaseline creates a lubricating layer that reduces friction to a minimum.
Some people prefer talcum powder if they sweat a lot. It works just as well—it’s a matter of preference. The key is creating a barrier between your skin and the sock.
And here’s the golden tip: if you feel a specific spot starting to hurt while walking, STOP. Immediately. That “hot spot” is your last chance to avoid a blister. Apply more Vaseline, add a dressing, adjust your sock. Five minutes now can save you five days of suffering.
Taking care of your feet after each stage
I know all you want to do is lie down, but spend 15 minutes on your feet. They’ll thank you tomorrow.
Sacred routine:
- Wash your feet with warm water and soap. Scrub well, especially between the toes
- Dry them thoroughly. Moisture is the enemy
- Apply moisturizing cream and give yourself a five-minute massage
- Let them breathe. No socks for sleeping
Airing out your boots is also essential. If they’re soaked, stuff them with newspaper to absorb moisture. And never, EVER place them near radiators or direct heat sources. They’ll deform, and your boots will be ruined.
The Basic First-Aid Kit
You don’t need to carry a full pharmacy, but these items are non-negotiable:
- Antiseptic (Betadine, alcohol, whatever)
- Blister plasters like Compeed
- Gauze and medical tape
- Vaseline
- Antibiotic ointment
- A sterile needle
- Ibuprofen (just in case)
With this, you can handle 95% of the problems you’ll face.
Blisters: Public Enemy Number One
Prevention
We’ve already said it: Vaseline, dry socks, broken-in boots, and attention to hot spots. Do this, and your chances of avoiding blisters increase exponentially.
Treatment
If a small blister appears, leave it intact and protect it with a hydrocolloid dressing. Those Compeed-type patches are pure magic: they protect the area, speed up healing, and let you keep walking.
If the blister is large and painful, it’s time to drain it. Clean the area well, sterilize a needle with alcohol or flame, puncture it from the side (the lowest point), and let it drain. Do not remove the skin covering the blister—it protects what’s underneath. Apply antibiotic ointment, cover with gauze, and you’re done.
Change the dressing daily until it heals completely. No heroic acts of ignoring the problem.
Sprains: Watch Out on the Downhills
Ankle sprains are the second most common issue after blisters. Uneven terrain, loose stones, steep descents—you’ve got all the ingredients.
To avoid them:
- Use trekking poles (both of them, not just one)
- Wear boots with good ankle support
- Warm up before each stage
- Be cautious on technical sections
If you twist your ankle, assess the severity. If you can put weight on it and the pain is moderate, apply cold, wrap it, and rest for a while. If the pain is intense, swelling appears quickly, or you can’t bear weight, don’t be a hero—seek medical help.
Fungal Infections: The Unwelcome Visitor
Fungi love sweaty feet trapped in closed boots. And shared hostel bathrooms are their playground.
Simple prevention:
- ALWAYS wear flip-flops in showers and bathrooms
- Dry thoroughly between your toes after showering
- Apply antifungal powder inside your boots if you sweat a lot
- Change socks when they’re damp
If symptoms appear (itching, peeling skin, strong odor), start antifungal cream immediately. Apply twice daily for at least two weeks. Keep going even if symptoms disappear—fungi are more stubborn than a mule.
Toenails: Cut Them Properly or You’ll Suffer
Ingrown toenails are a nightmare. The solution is ridiculously simple: cut them straight across, without rounding the corners. Leave a small free edge. Do this a few days before starting the Camino, not on the same day.
Bruised toenails (they turn black) often appear on long descents. If they don’t hurt, leave them alone. If they’re very painful due to pressure, you can drain them with a sterilized hot needle. The nail will probably fall off eventually, but a new one will grow back.
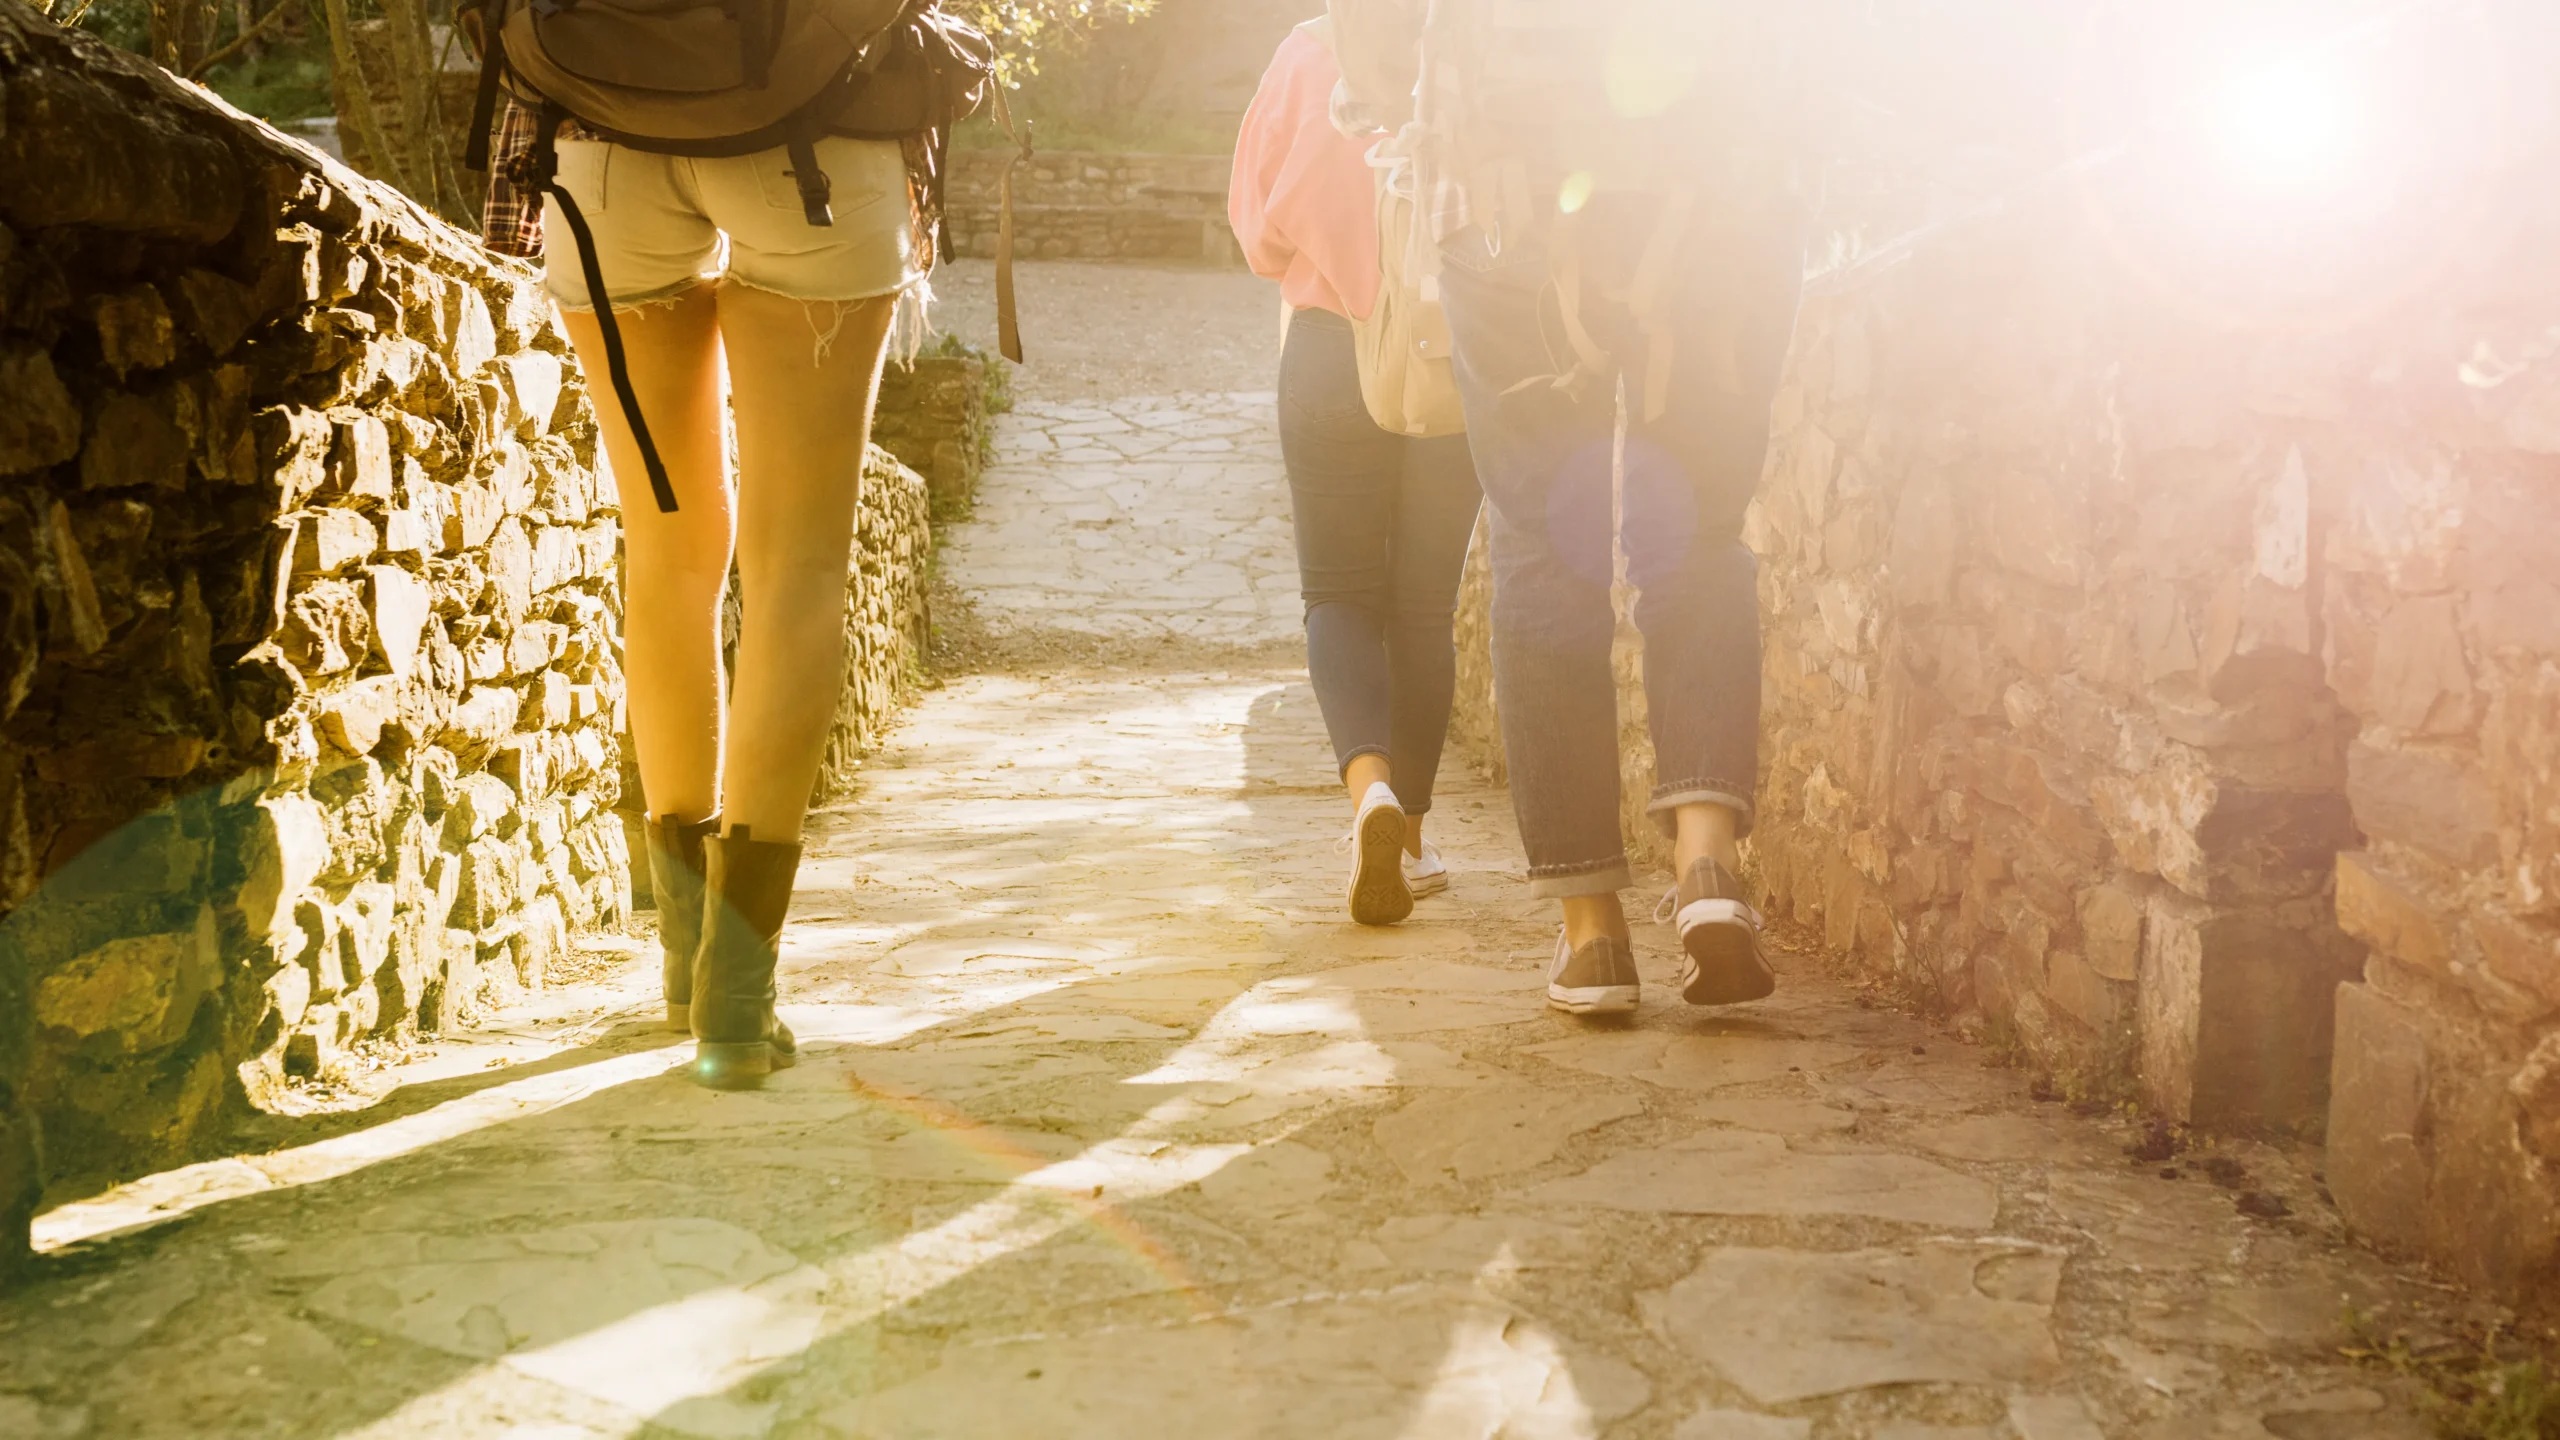
The Right Mindset
The Camino is not a race. If your feet hurt, stop, rest, and treat them. Pushing through pain is the stupidest way to end up seriously injured.
Listen to your body. Those two feet are the only ones you have, and they need to carry you all the way to Santiago. Treat them well, and they’ll treat you well in return.
And remember: every pilgrim you see arriving happily in Compostela has gone through the same thing. With preparation, basic care, and a bit of luck, you’ll arrive with your feet (more or less) intact too.
Ultreia, pilgrim. May your feet carry you far.